Angel Figurines
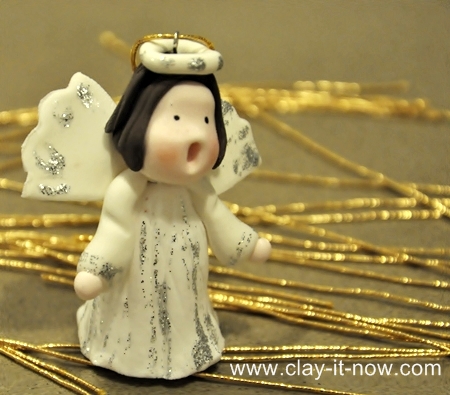
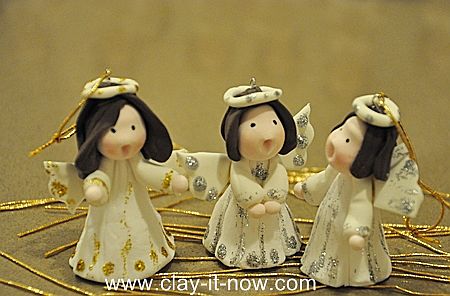
Angel figurines especially those made of soft clay are best for DIY Christmas tree decoration. You'll have lots of flexibility to play with the expression and postures to create the one you like.
I knew you can buy ready-made angel but the idea making your own figurine here is not to save money though.
Isn't it lovely to tell your kids the story about angel and Christmas while making the figurine? So, let's have fun...
Tools & materials:
- I used Crayola soft clay for the angel because the clay will stay soft and squishy after it's dry. But if you want to have hard figurine like ceramic or porcelain when it's dry I would recommend you to use cold porcelain clay, soapy clay or salt dough for home-made clay or FIMO Air where it will hardened in microwave.
- Glue
- Glitter glue (gold or silver)
- Toothpicks
- Cutter
- Jewelry pins
- Gold strings
Steps to make angel figurine:
Step 1:
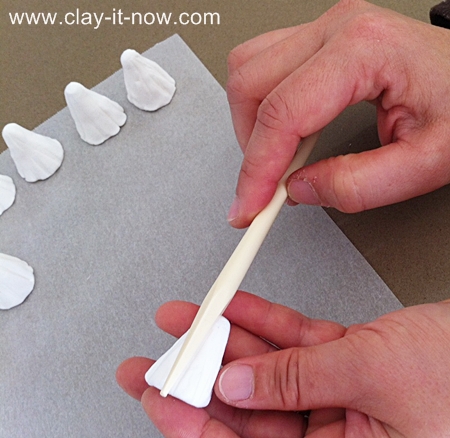
- Let's make the body/ robe by making a round clay shape. Continue rolling the clay in between your palm and change the shape to a cone. You don't need to have a perfect cone shape. That's why the small kid can do this.
- Use your clay tools to make some creases so the robe looks natural.
- I would suggest you to make a group of angels instead of just one.
- Alright, stop here for a while and let the clay dry.
Step 2:
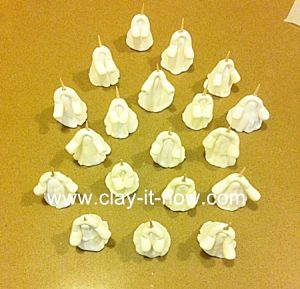
- Start rolling the white clay again to a pipe/ spaghetti shape for both arms.
- Tapered the center part of the pipe and flatten it a little bit.
- Add glue to the top center of the body an attach the pipe shape.
- Form the arm to the position you like.
- Insert toothpick to strengthen the body and also to hold the head later on.
Step 3:
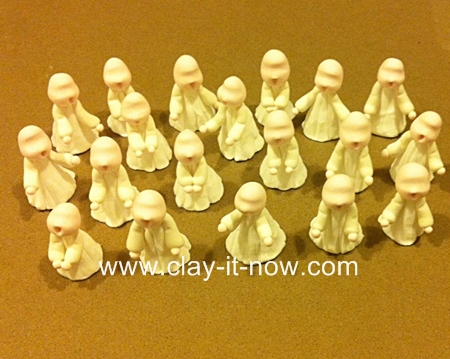
- Head: use light pink or other flesh color clay. Roll it to a round/ ball shape, use your thumb to press the middle part of the ball and use clay tool to form a mouth. You can draw the smile line or create a small hole as if the angel figurines are singing together.
- Hand: roll two small ball shape clay and attach it to the arms.
Step 4:
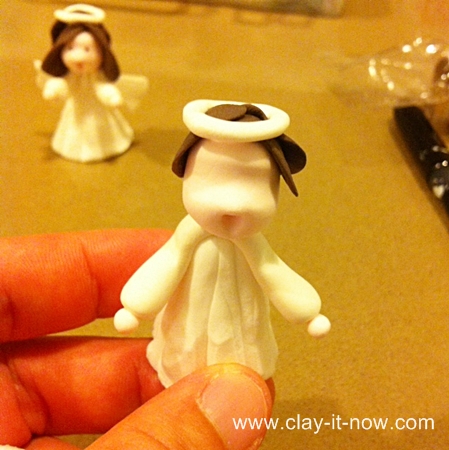
- Add the hair and the halo.
- Draw the eyes and eyebrows to the shape you like.
Step 5:
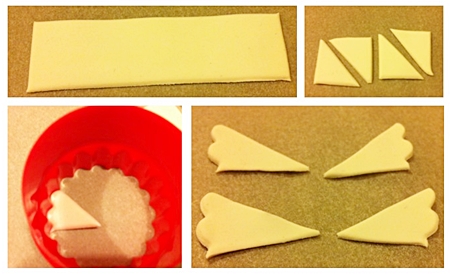
- The wings: flatten the clay to rectangular shape, cut it to several triangle shape, use cookie cutter for the tip of the wings.
- Attach the wings to the back of the body with glue.
- Insert jewelry pin to the head and add gold string so you can use it as Christmas tree decoration.
Decorate your figurines with gold/ silver glitter. It's done!
| Home | Christmas Craft | Previous | Next |
Please LIKE, SHARE and SUBSCRIBE to support my channel.
Share your craft
Do you make your craft? Share it!
