Baking Soda Air Dry Clay Recipe for Creative Minds
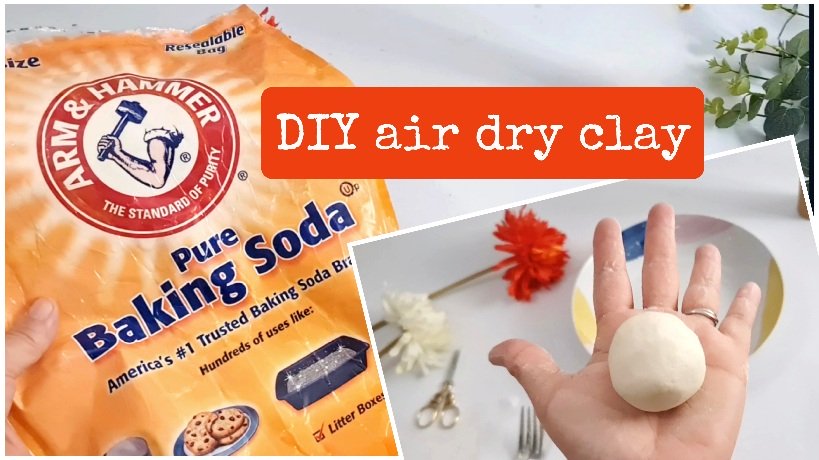
Hey friends! I have new baking soda air dry clay recipe to share - and the best part? No cooking needed. I would say, this recipe is firstly made by Clayitnow. You know that Clayitnow likes to experiment with homemade clay, right?
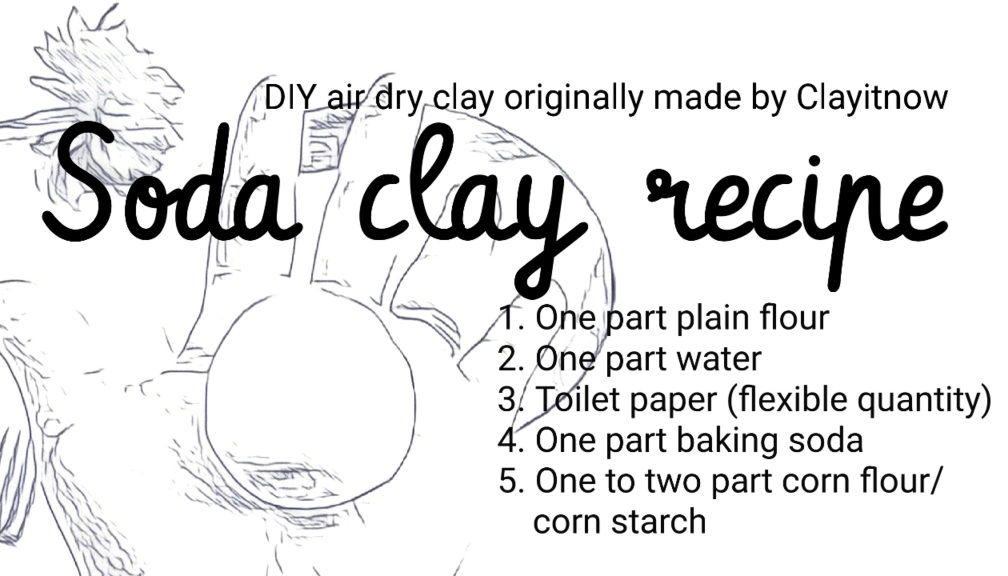
Okay! Let's make this clay with everyday kitchen stuff: flour and water. Mix them well.
Then, here's the fun part – add toilet paper to the mix. Yeah, I know, sounds a bit crazy, but trust me, it's the secret ingredient for super-strong clay. The more toilet paper you add, the tougher your clay will be.
Now, let's sprinkle in some baking soda – the ingredient that makes your clay tough and crack-resistant. But hey, we're not done spicing things up.
To get the perfect texture, add some corn flour or corn starch. This ingredient lets you customize your clay's feel/ consistency for the right mix of soft and firm.
I usually go for about 1 and 3/4 parts of corn flour, but here's the deal – this recipe is all about letting your creativity run wild. Don't be shy to experiment and discover your own best homemade clay recipe.
So, what are you waiting for? Roll up those sleeves, gather your ingredients, and make this baking soda air dry clay! I am certain you will enjoy creating your masterpiece with this super simple clay.
Steps to make baking soda air dry clay:
With ingredients ready, it's time to bring our baking soda air dry clay to life!
Follow these simple steps, and you'll soon have a batch of clay that's ready to be transformed into works of art:
- In a mixing bowl, combine the flour and water. Stir vigorously until the two ingredients are thoroughly blended, creating foundation of your clay.
- Now, take a handful of toilet paper and gently tear it into small pieces. Gradually add the tissue paper to your flour-water mixture, stirring as you go. This step is essential for adding strength and durability to your clay. Embrace your inner sorcerer and decide how sturdy you want your creations to be by adjusting the quantity of toilet paper accordingly.
- Once the toilet paper is fully integrated into the mix, it's time to add baking soda! Sprinkle this powder into your bowl and stir until it is evenly distributed throughout the clay. Feel the transformative energy radiating from your creation—it's becoming something extraordinary!
- Finally, add the corn flour or corn starch, the key to achieving the perfect consistency. Sprinkle it gradually into your mixture, stirring continuously. This is where the real fun begins, as you have the freedom to experiment.
Observe the texture and adjust the proportions until you're satisfied with the pliability of your clay. Remember, the goal is to create a clay that's neither too soft nor too hard—a clay that's perfectly suited for your creative endeavors.
Recently, I have changed the recipe a little bit. I mix corn flour with rice flour in a 1:1 ratio for even better performance.
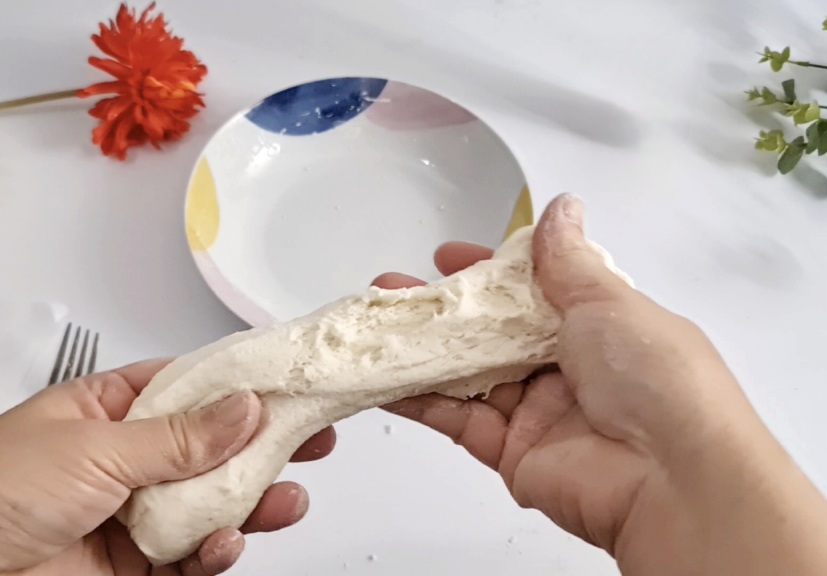
Now comes the moment of truth! To determine if your baking soda air dry clay has reached its ideal consistency, it's time to put it to the test.
Take a small portion of the clay and roll it into a ball shape. Place it gently on your work surface or palm and observe.
Does it hold its form, standing proudly as a testament to your clay-making skills? :)
If that so, congratulations! You've unlocked the perfect clay consistency.
However, if the ball feels too soft and collapses or if it's too hard and refuses to budge, fear not! You have a freedom to adjust and refine.
Simply add more corn flour/ corn starch or rice flour if it's too soft, or sprinkle in a bit of water if it's too hard. With a few tweaks here and there, you'll soon discover the ideal balance that brings your clay to life.
Now that you've mastered the art of baking soda air dry clay creation, the time has come to unleash your imagination and transform this remarkable substance into awe-inspiring works of art.
The possibilities are truly endless! Channel your inner architect and sculpt intricate mushroom houses or other fairy houses that would make fairies themselves swoon with delight.
Craft whimsical figurines and characters that could leap off the pages of a storybook. Let your creativity take flight as you mold animals, flowers, and fantastic creatures of your own design.
And don't forget to explore the world of functional art by creating unique bowls, vases, and decorative pieces that will leave your guests in awe.
The best thing of baking soda air dry clay is its ability to air dry. No need for kilns or elaborate firing processes. Simply allow your creations to dry naturally, and witness the magic as they transform from pliable clay into solid, permanent masterpieces.
Be patient, my fellow creators, as the drying time may vary depending on the size and thickness of your creations. But trust me, the wait will be worth it when it's done.
Imagine the joy of showcasing your baking soda air dry clay creations to friends and family. Picture the smiles and awe on their faces as they marvel at your talent and the intricate details of your artwork.
And remember, the beauty of baking soda clay doesn't stop here. Feel free to paint your creations, adding vibrant colors and bring them to life. Let your artistic vision shine as you create a world that is uniquely yours.
As you embark on this journey of clay crafting, don't forget to have fun!
Let go of any self-doubt or perfectionist tendencies. Embrace the unpredictable nature of the creative process and embrace happy accidents.
Some of the most extraordinary creations are born out of playful experimentation and unexpected discoveries.
With this new baking soda air dry clay recipe, unleash your creativity.
So, my fellow adventurers, gather your flour, water, toilet paper, baking soda, and corn flour/corn starch/ rice flour.
Get ready to experience the pure joy of working with your hands and creating something truly extraordinary with this baking soda air dry clay.
The world is your clay-filled oyster, my friends. Now, go forth and sculpt your dreams into reality! Happy crafting!
One more thing, you'll see me making this clay at my YouTube Channel (click below video)
And, don't forget to subscribe if you have not done it yet. So, you'll be notified when new video/ tutorial uploaded. Thanks.
So, what did you make with this baking soda air dry clay? I created miniature house night lamps. Click on the video and surely you will love this homemade clay. It's my new best homemade clay.
Recently I make mushroom house with a dragon twist to celebrate dragon year and adding details there with no-cook baking soda clay.
| Home | ^Top of Page | Cooked Baking Soda Clay | More Homemade Clay Recipes|
Please LIKE, SHARE and SUBSCRIBE to support my channel.
Share your craft
Do you make your craft? Share it!


