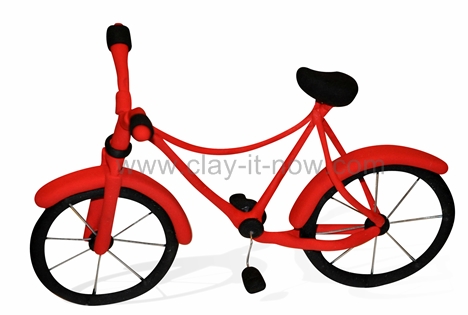
Bicycle Clay
This bicycle clay may not suitable for kids below 10 years old because I am using wire and cutter.
Tools & Materials:
- Air dry clay (check out my page about "what clay to buy" to see 3 different type of air dry clay and also oven baked clay). I used red and black soft clay for my bicycle.
- Chain wire (you may find it at the landscape area at your local DIY store)
- Floral tape
- Black thread
- Wire cutter
- Glue
Steps to make bicycle clay:
 |
 |
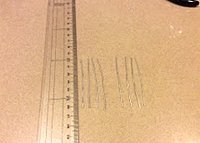
- Cut the wire to about 5 - 6 centimeter. Make 8 equal length.
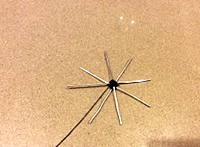
- Take the two wires and make a cross. Tie them together with black thread. Make two crosses.
- Join the two crosses with black thread again. Please see the second picture for your reference.
 |
 |
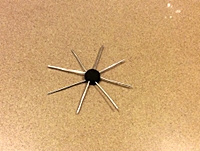
- Roll black clay to 2 small ball shapes, flatten it lightly and paste it on the middle of the wire. It will cover the black thread on both sides.
- Wrap the perimeter of the wire with your thread to get the estimated length of the wheel.
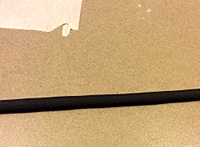
- Roll your black clay to a spaghetti shape with diameter about 0.5 - 1 centimeter.
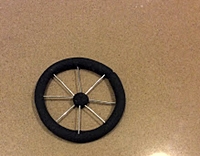 |
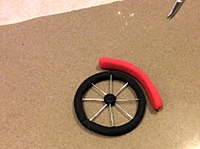 |
- You have the wheel now. Make another one in the same way.
- Let it dry in room temperature.
- Next, roll the red color clay (or other color if you like) to a spaghetti shape and flatten it to about 2 -3 millimeter thick.
- Cut this to about 1/3 of the wheel length and paste it on to it with glue.
- Do this for the other wheel too.
 |
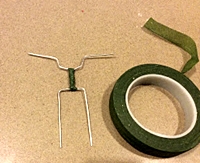 |
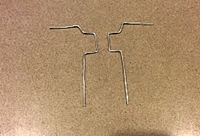
- Let's make the handle bar and the handle post that looks like a fork.
- Cut your wire and shape it like the above.
- Join the two wire shapes with floral tape.
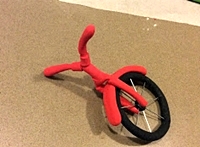
- Cover the wire with red clay.
 |
 |
- Paste both ends of the headset fork to the center of the front wheel with glue.
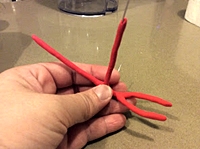
- You'll need another fork shape for the back wheel, seat post and the middle bar.
- Cut the wire and bend it to form the shape like the one in the picture and then cover the wire with clay again.
- Joint both ends of the fork to the center of the back wheel and the other end to the front wheel.
- For the seat, roll your black clay to a ball shape and then triangle shape and insert this to the seat post.
- You can add the crank & pedal now and also top bar connecting the front wheel to the seat post to stiffen your bicycle clay.
- Lastly, I add black clay to cover the handle.
The bicycle figurine is ready now. If you make a bike following this tutorial we want to see your work. Please share your picture using the submission form below or post it to our Facebook page.
Have fun....
Update:
We've just uploaded our mini bicycle video tutorial. You'll see us making the bike without wire here.
Other ride-on clay ideas:
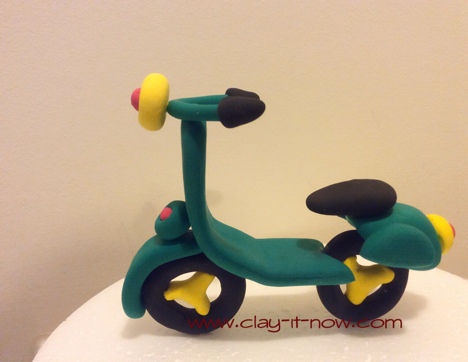 |
It's a favorable item for vintage style wedding cake topper. Happy to share our simple shape vespa tutorial for your idea. | |
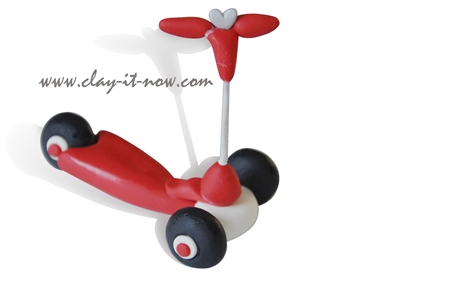 |
It's made for keepsake and souvenir for any kids who loved and ever played with it. Nice for birthday cake topper. |
| Home | ^Top of the Page |
Please LIKE, SHARE and SUBSCRIBE to support my channel.
Share your craft
Do you make your craft? Share it!
