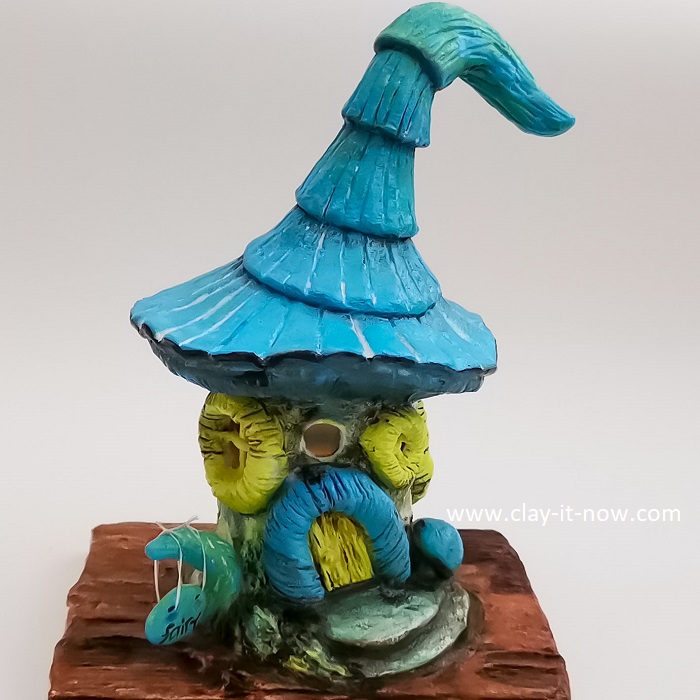
Blue Fairy House with Built in LED Tealight Candle - Works with Homemade Clay
Why Blue Fairy House? Well... firstly, I like blue and secondly I thought it would be nice to see fairy house design not in usual mushroom roof in red or earth color range.
So, here I am sharing my fairy house creation with you.
Let's have fun crafting with me.
How to make blue fairy house?
Alright, what tools or materials used to make this fairy house?
It's very simple!
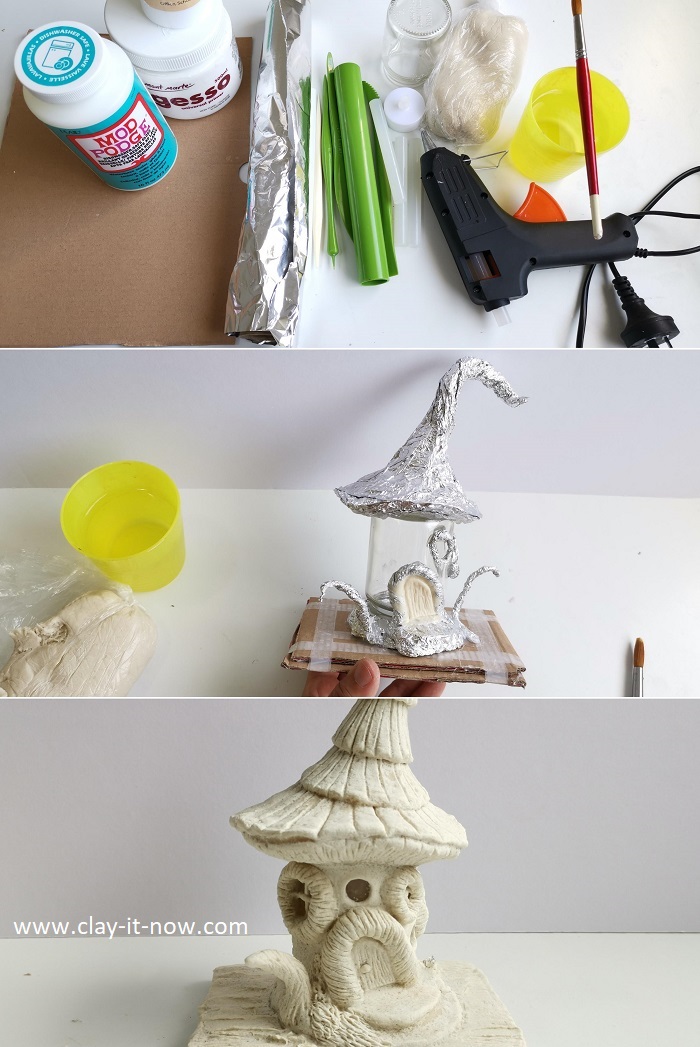
We need basic clay tools. In fact if you don't have it, you can use anything from your kitchen. Also:
- Hot glue with hot glue gun
- Aluminium foil
- LED tealight candle
- Water (in any container) and brush
- PVA glue (any brand --> I use cheap school glue)
- Used jar (any size)
- Air dry clay (any brand). I use homemade clay. Of course, you can buy the clay. That would be easier if you just started with the craft.
- Thick paper/ cardboard for the base --> used packaging box is okay.
- Acrylic paints
- Gesso universal primer
- Mod podge or spray varnish (to your preference and availability at your place) to seal the clay
My steps are as follow:
1. Preparations:
- Prepare the base. I cut the cardboard to rectangular shape. You can make different shape if you like, e.g circle or irregular shape to suit your design.
- Stick LED tealight candle to the base. Make sure your LED light stays in place when you on-off the switch for many..many times. And, don't cover the opening side at the bottom in case you need to replace the battery in future.
- Turn the jar upside down, covering the candle tealight and use hot glue gun to secure the jar to the base.
- Next, use aluminium to add dimension on the base, door, windows and roof with the shape following your design concept.
2. Adding clay/ wrapping all the surface with clay.
- I start with entrance door, soffit (below the roof), around the jar, the roof, door and window jamb, and the base.
- Tips: don't touch wet clay because it will deform. So, instead of covering the whole surface in one sitting, you may need to work part by part (take longer time but easier to handle).
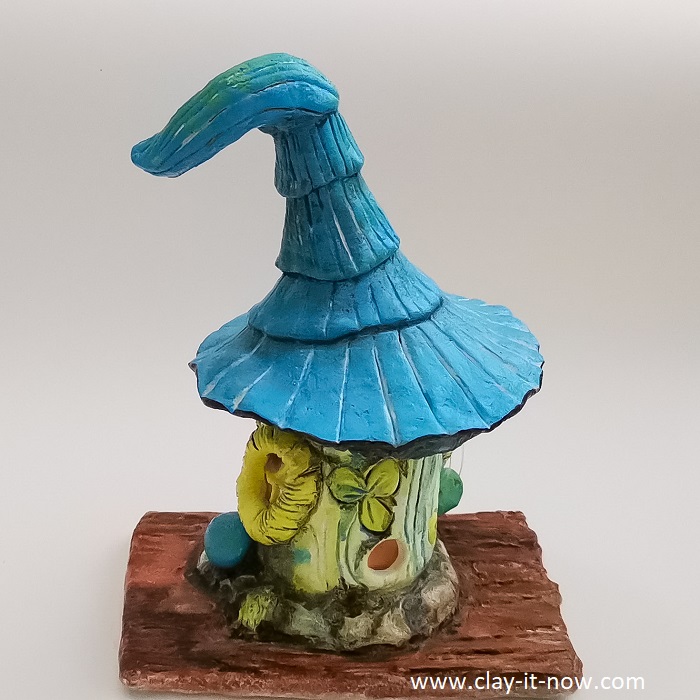
- You'll see that I have embossed the wall at the back of the house with straw for some kind of petal image. Yeah..I like those technique used for pottery.
3. Finishing: 3 steps to finish our blue fairy house
- When the clay completely dry (it took me about a week), apply a thin layer of Gesso Universal Primer to protect the clay and to make it easy for the next step, painting.
- Again, wait until the primer dry. Then, start painting the clay layer by layer from lighter to darker colors.
- Finally, apply mod podge or varnish to seal the colour and clay.
That's it! we are done :)
Btw, I have recorder my steps above in video and you can watch it at Clayitnow youtube channel.
| Home | Top of the Page | Next Project |
Please LIKE, SHARE and SUBSCRIBE to support my channel.
Share your craft
Do you make your craft? Share it!


