Clay Texture Paste,
Kind of New Homemade Air Dry Clay ???
I make clay texture paste because my store bought wall filler (kind of joint compound or Spackle paste) has finished.
I like crafting with that wall filler. The filler will dry hard. But, it can't replace air dry clay in term of flexibility to make a model.
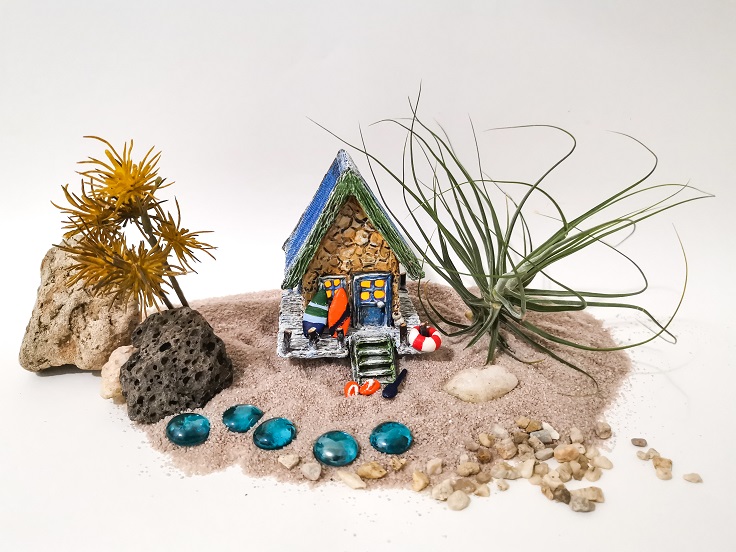
At least, the wall filler helps to make my toilet paper roll tube and cardboard stiff as you can see in some of fairy house projects I did at Clayitnow You Tube channel like below miniature beach house - click on the picture to see my video.
But, I don't think I am going to buy another tub of filler. I was thinking...ehm..maybe I can make my own paste. So, I look around my craft boxes and found plaster of Paris or we call it POP.
I mixed plaster of Paris following the instruction on the packaging. It says 1 part of water with 2 parts of plaster. I did that and use it for my craft. It dries hard but too fast. I don't have enough time to play with it..I meant to make texture for my miniature house wall or roof.
So....I did another experiment. Inspired by my best homemade clay recipe with flour base, I add flour to my plaster and wow...it works! I have homemade clay texture paste for my craft.
I am happy with it and excited.
You may have seen my video published few weeks ago if you have subscribed to my You Tube Channel. But, if you have not seen it yet, I will share my recipe here.
Homemade Clay Texture Paste Recipe:
Honestly, recipe for this clay texture paste is very simple. There are only 3 ingredients.
These are all we need:
- 1 part of flour (plain flour)
- 2 parts of water
- 3 parts of plaster of Paris.
You may wondering if you can add PVA glue or not. The answer is YES. I know that some of you are used to mix Plaster of Paris (POP) with glue. That's okay!
If you want to add glue, reduce the water and replace some of the measurement with glue. Make sure that your glue + water forming 2 parts of composition.
I use part here meaning that you decide on your own measuring device. You can use spoon, cup, bowl, etc. If you use spoon, it means you need 1 spoon of flour, 2 spoon of water and 3 spoon of plaster, and so on.
Next, how to make clay texture paste? Again, it is very easy. Put 1 part of flour in a bowl, mixed with 2 parts of water until you don't see the lumps anymore.
Then, slowly add 3 parts of plaster. And, that's it! The paste is ready for crafting.
Clay Texture Ideas and Technique
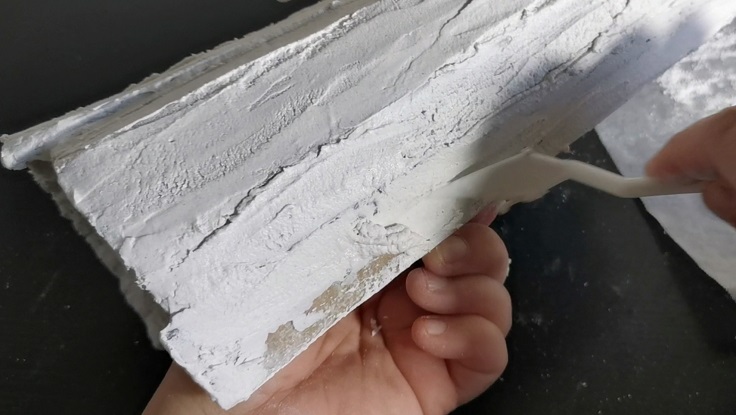
After making craft projects with clay texture paste recipe as above, I continue experimenting with it. For example, I add more POP to make thicker paste until I have paste with consistency like peanut butter. It works! Look at my recent money box (piggy bank) tree log fairy house project. I make tree bark texture with this paste. This clay paste works like paper mache clay.
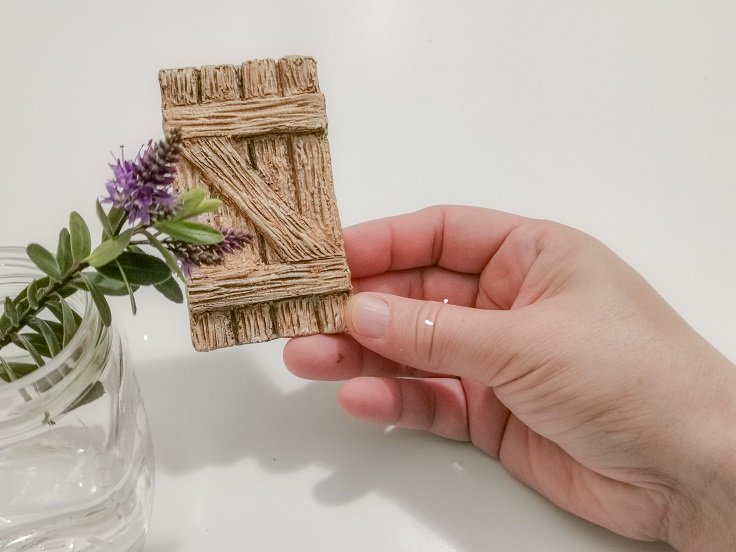
Then, I took a little bit of that thicker paste and add more POP (Plaster of Paris) until I can roll it like air dry clay. It works too! OMG, it's amazing! I think I will start using it as my new form of homemade air dry clay. Look at the window!
What do you think?

Btw, you can watch my recipe video below. Don't forget to subscribe to my channel and turn on the bell. so, you'll be notified when new craft/ projects uploaded
Did you make this clay texture paste?
If yes, what is the result? What is your experience? I have received some comments from you saying that this paste is good for flat surface but not for 3D kind of shapes.
Some of you trying to apply this on the cardboard but unsuccessful because the cardboard become wet and soft, damaging your craft.
Well, I don't have that kind of experience. But, I am listening to you and did more experience. Let me share my tips:
- Make thicker paste by adding more flour & plaster to the basic recipe.
- Apply thick paste on the surface instead of thin paste. Thin paste easily peel off/ crack.
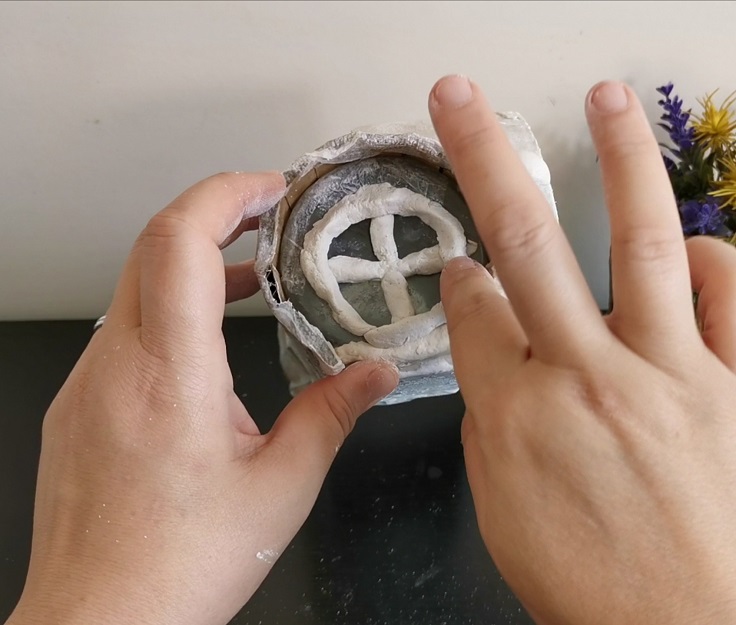
- Cover your cardboard with glue or glue and paper napkins before applying the paste. Again, use thick paste.
All the best.
| Home | ^Top of Page | What Clay to Buy | Fairy House Ideas |
Please LIKE, SHARE and SUBSCRIBE to support my channel.
Share your craft
Do you make your craft? Share it!


