Cold Porcelain
Without Glue - It's Better Than Salt Dough!
Why cold porcelain without glue?
First of all, I make this homemade clay because I don't have Elmer's glue anymore but I have a big bag of baking soda in the kitchen :)
You might ask, why not salt dough? That's what I thought initially. I like salt dough but don't like the work to smooth the surface with sandpaper.
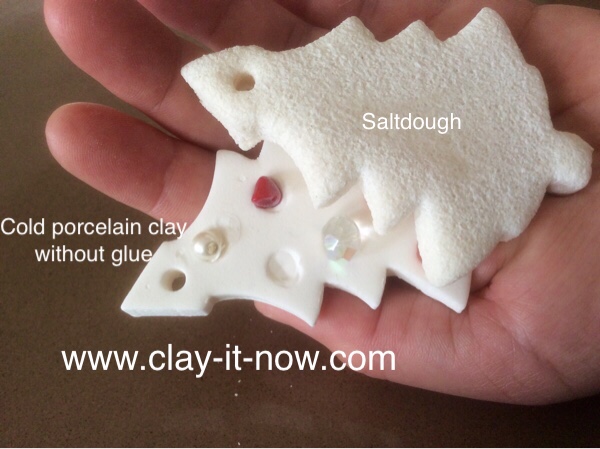
You know what I mean. Look at below picture.
Did you see the difference? Yes? Look at the color and the clay surface!
The cold porcelain surface is smoother and looks whiter than the saltdough. And, it has clean and crisp edges.
It looks better than salt dough, isn't it?
Now, how does it compared to the conventional cold porcelain, I mean the one with Elmer's glue? Honestly, the version without glue lacks luster and strength. It's brittle when the clay still wet. It's not pliable.
You might agree with me that the cold porcelain clay cooked with glue is as good as store bought polymer clay in term of look and strength.
Anyway, if you don't want to make complicated model, this cold porcelain without glue version is good enough for you or your kids to play with, touch it and cut it with cutter to make simple clay ornaments.
Cold porcelain clay without glue is not recommended for making figurine or 3D models.
How to make cold porcelain without glue?
If you think you like this one and would like to make the clay for yourself, please feel free to follow my recipe.
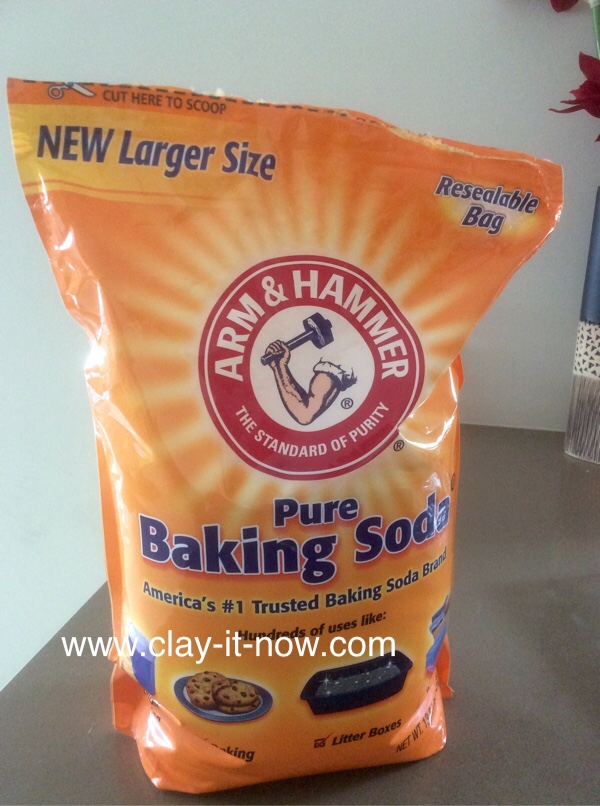
This clay only has 3 ingredients with baking soda as main ingredient. . Choose good quality baking soda for your clay. I use Arm & Hammer pure baking soda.
Clay recipe ingredients:
- 2 cups or 2 glasses pure baking soda
- 1 cup or 1 glass corn flour
- 1 1/4 cup or glass cold water
Steps to make the clay:
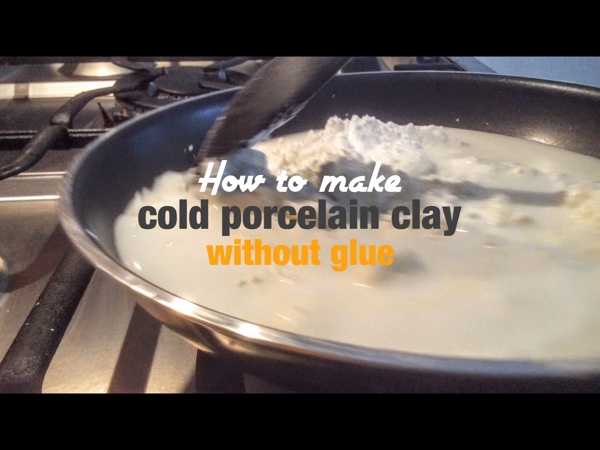
Pour all ingredients to a non-stick pan and stir it continuously on small fire. It will take about 10 minutes or more until you'll see the lumps. Keep stirring until you can lift up the clay from the pan then stop.
Let the clay cool down. Yeah.. I know you might want to touch the clay straight away. But, please wait for few minutes :)
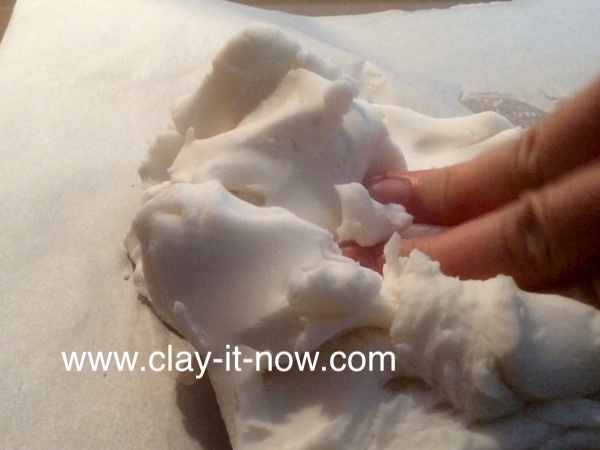
Knead the clay when it's not too hot anymore. And, it's ready for you to play with.
You can keep the unused clay in sealed plastic bag and put it in the fridge.
Do you like to watch how to make this clay? Click below image.
Cold Porcelain Clay Without Glue Video Tutorial
Tips for cold porcelain without glue:
- Color your clay with water base paint after your clay model dry.
- Protect your clay with clear nail polish (for small item) or varnish after it has dried completely.
- Avoid any contact with water before you protect your clay because even though it has dried completely, it may soften again when it has direct contact with water.
| Home | ^Back To Top Of Page | Next Recipe |
Please LIKE, SHARE and SUBSCRIBE to support my channel.
Share your craft
Do you make your craft? Share it!


