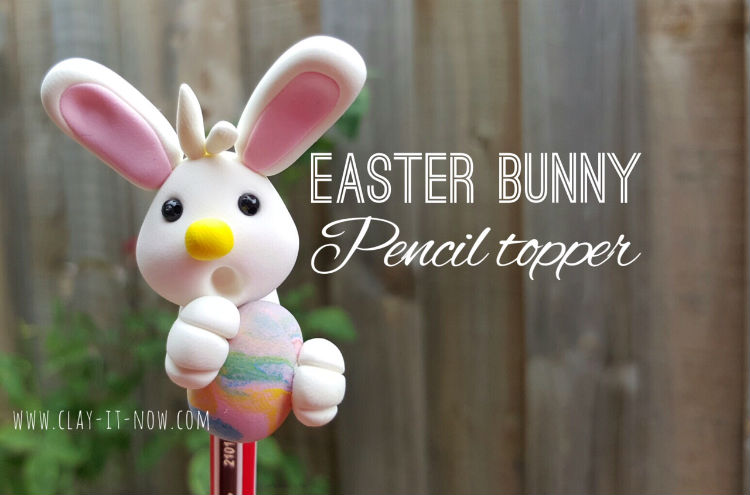
Easter Bunny Pencil Topper hugging a Multi Colored Egg
The Easter Bunny as far as we know is a folkloric figure and symbol of Easter, depicted as a rabbit bringing Easter egg.
Legend says that the bunny sometimes depicted with clothes, carries colored eggs in his basket, candy, and also toys to the homes of children in the role like Santa Claus. Well, not sure who created that story though :)
Anyway, we make this craft so you will have new idea (may be) to share with your kids or student to make pencil topper for activity during Easter holiday.
Let's have fun together.
Steps to make Easter Bunny:
Alright, you might ask the type of clay we use. We use store bought air dry clay but we don't want to influence you with the clay brand we use.
So, please visit our page "what clay to buy" if you don't have the clay yet before buying them.
If you prefer to make your own clay, we have many type of modelling clay recipes for you to choose.
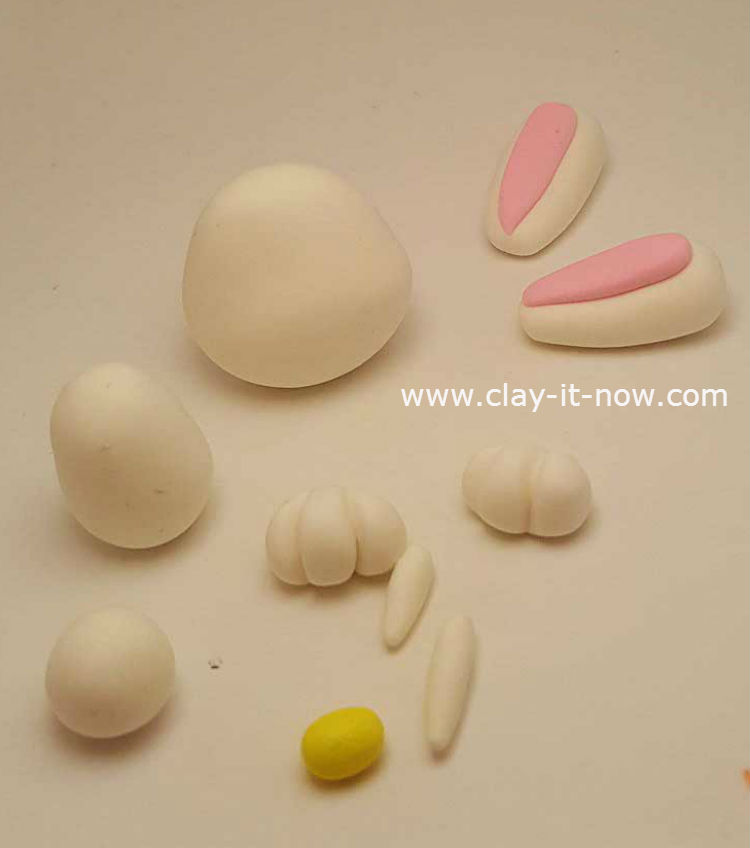
Now, take your white clay and make the shapes like the above picture. Basically you have to make the head, body, hands, ears, hairs and tail with it.
Also, a small ball shape in yellow color for the nose and 2 small teardrops shape for the inner part of the ears.
You'll see that we don't make legs and arms - instead just the hands. Well, this is how we want the bunny to look like :) can't we use a little bit of imagination?
Next, mix pink, yellow, red, blue and roll them together to make a small multi colored egg.
- First of all, we make the bunny's face. It's started with a ball shape then change the shape to an egg with wide bottom part. Press the eyes area, add the small black bead or black clay, paste the nose and make the mouth. And, paste the hairs (hair might not the right term but I don't remember what it should be called. Fur?)
- Next, take the body part. Insert this to your choice of pencil. Use glue to keep the clay stick on the pencil.
- Paste the head on top of the body.
- And, paste the colored egg in front of the body.
- After that, add the tail, hands and the ears.
We have done with our Easter Bunny pencil topper. Isn't it cute?
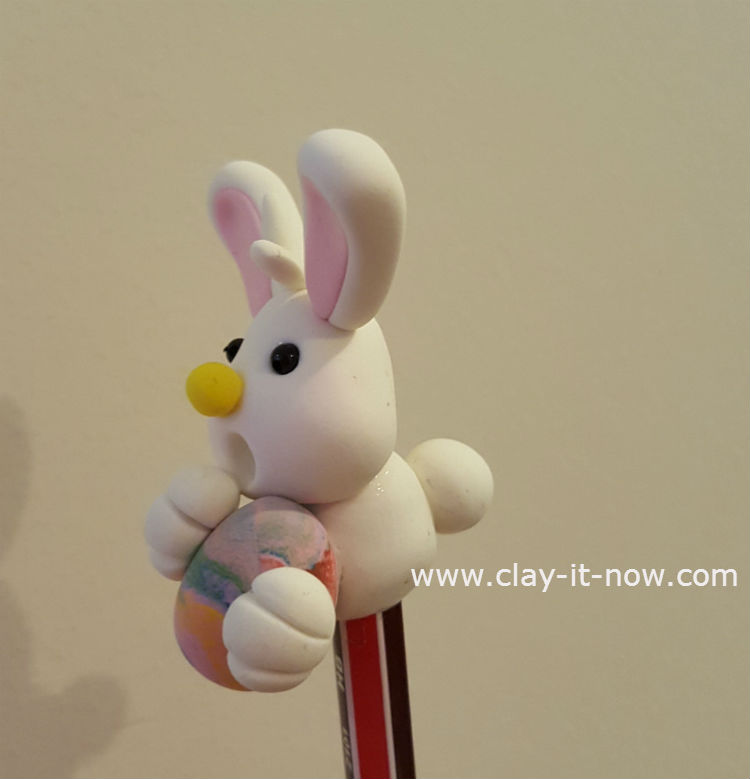
Below is the picture of it from the side and back.
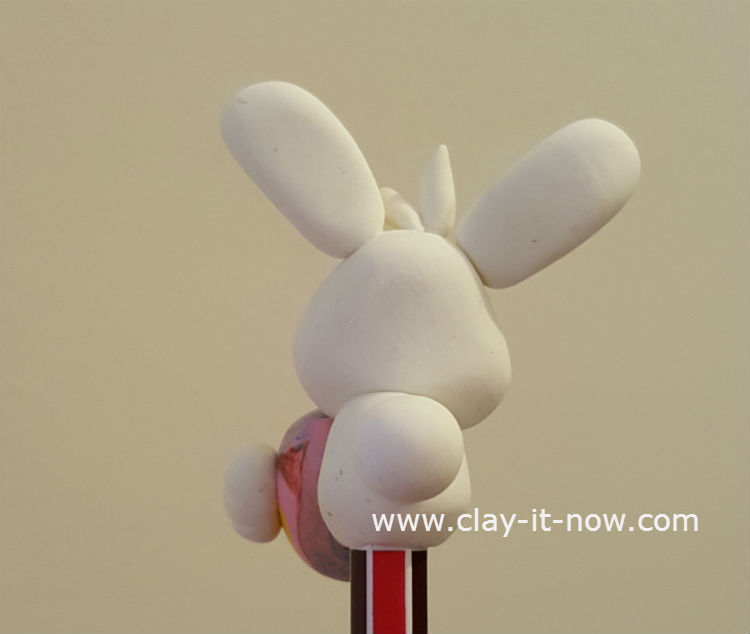
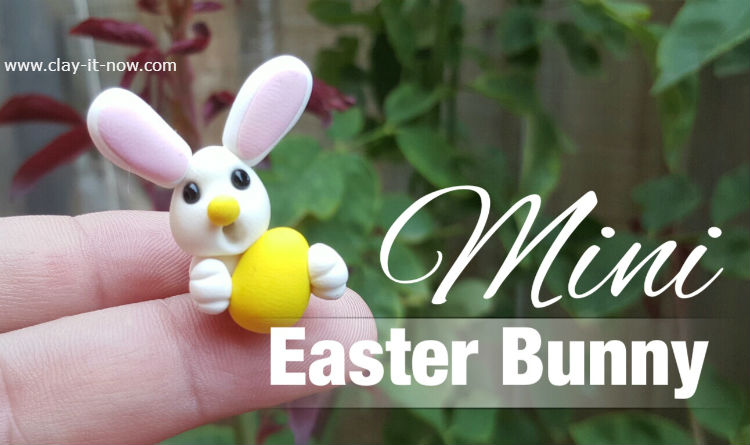
By the way, we also have video tutorial for miniature bunny. We make earrings with this :)
| Home | Clay Projects for Kids | Easter Theme Fairy House Idea |
Please LIKE, SHARE and SUBSCRIBE to support my channel.
Share your craft
Do you make your craft? Share it!
