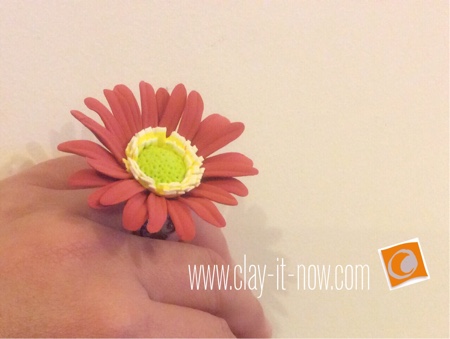
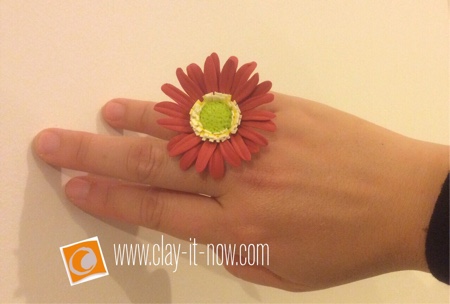
Gerbera Daisy Clay Ring Tutorial Using 3 Types of Clay
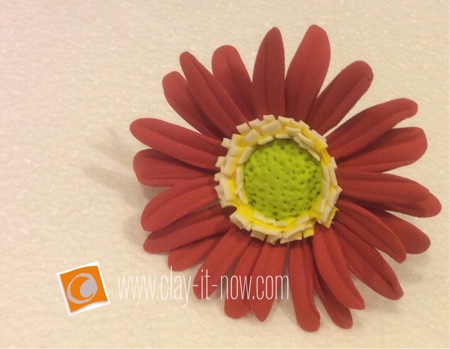
Gerbera daisy clay ring for Mother's day gift? Why not? It's unique, fashionable and may not be sold in the stores.
I am sure mum who receive this humble clay ring will be happy, especially if it is hand-made by her loved ones.
In this page, I'll walk you through to the steps I did to create gerbera daisy.
I've made the flower with 3 types of clay; homemade clay, soft clay and Sculpey oven-baked clay.
Please feel free to browse my "what clay to buy" page to get a better idea about type of clay that suit your clay craft project.
Steps to make gerbera daisy clay ring:
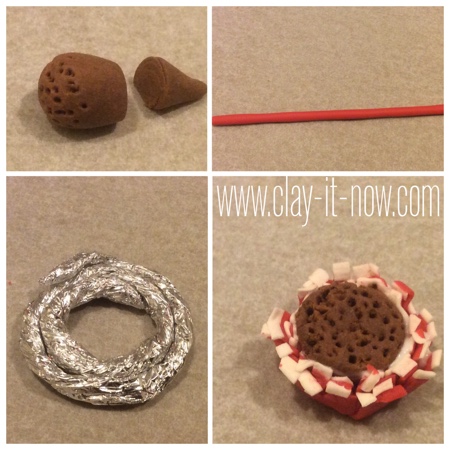
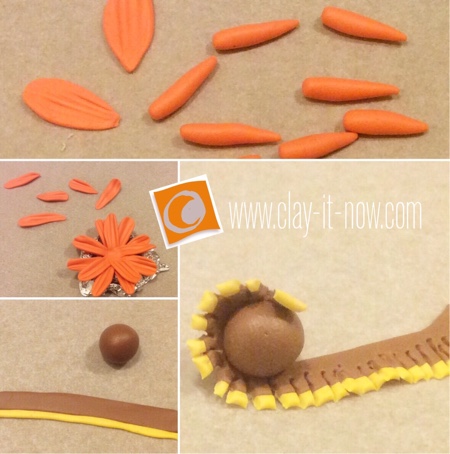
- Firstly, let's make the center of the flower. Roll the clay (any color you like) to a ball shape and then change it to a tear drop shape.
- Poke the top part with clay tool or toothpick and then cut the bottom part of the teardrop.
- For stamen, roll small spaghetti shape clay or a rope - I use red color in the above picture. Add thin white rope and attach it to the red one.
- Use rolling pin to press the two colors together.
- Use scissor to cut the clay from the white part. I like the stamen to look natural so I don't really care about its uniformity.
- After that, wrap the stamen around the center of the flower. Leave it in the room temperature and let it dry.
- I used cold porcelain clay for this tutorial. Sometimes, it's not easy to get the clay to stand by itsel when its still soft and wet. So, I've made a prop with aluminium foil.
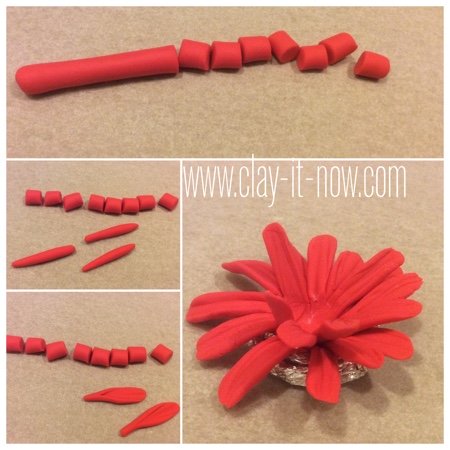
- For petals, roll the clay to spaghetti shape and make about 20 to 25 pieces of short pieces.
- Roll those small pieces to teardrop shapes, press it and add the veneer. I didn't use mold or ready-made cutter for the petal. Some perfectionist people may see my creation as messy and untidy. But, I like it this way. It looks more natural to me.
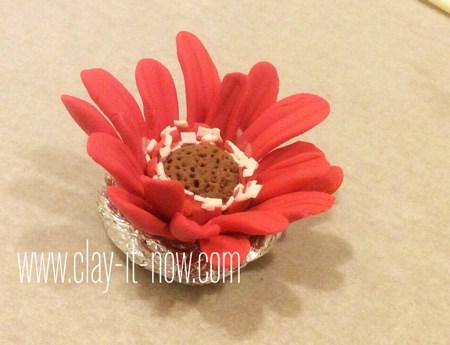
- Arrange the petal on top of the aluminium foil ring. Add the glue to secure the petals and press the middle part with clay ball tool.
- Finally paste the stamen to the center of the petals.
- Leave it to dry.
|
Here is the look of the flower made with homemade clay. | ||
|
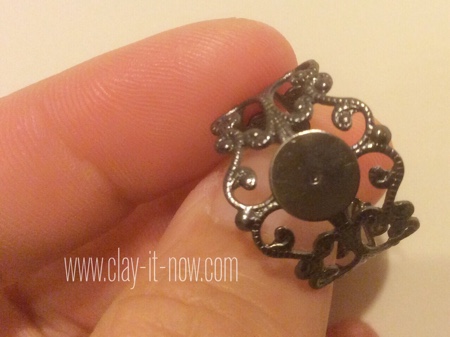
By the way, you'll need the ring base. Visit your local jewelry craft shop to get one or buy online. | ||
|
My homemade clay flower was still soft the next day, so I took my soft clay and oven-baked clay to make another flower. |
Gerbera daisy in oven baked clay:
Here is my process to make gerbera daisy clay ring with oven-baked clay:
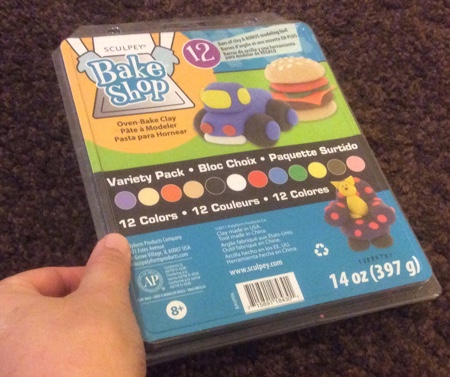
Here is my Sculpey oven-baked clay:
Gerbera daisy with soft clay:
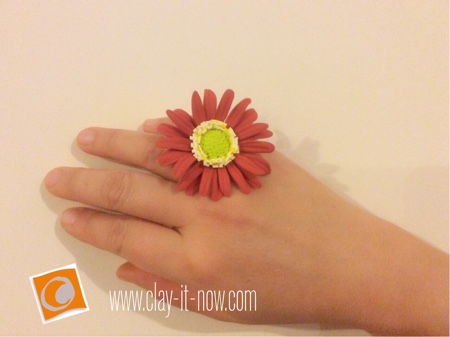
My flower with soft clay dries the next day and I paste it to the ring base with super glue and finally I used mat varnish to protect the clay.
That's it! we have gerbera daisy clay ring now.
Flower Design resource:
I've found some books and things for clay flowers are inspiring. These may give you ideas to develop your own design.
Please LIKE, SHARE and SUBSCRIBE to support my channel.
Share your craft
Do you make your craft? Share it!
