Mini Fairy House DIY Idea & Tutorial
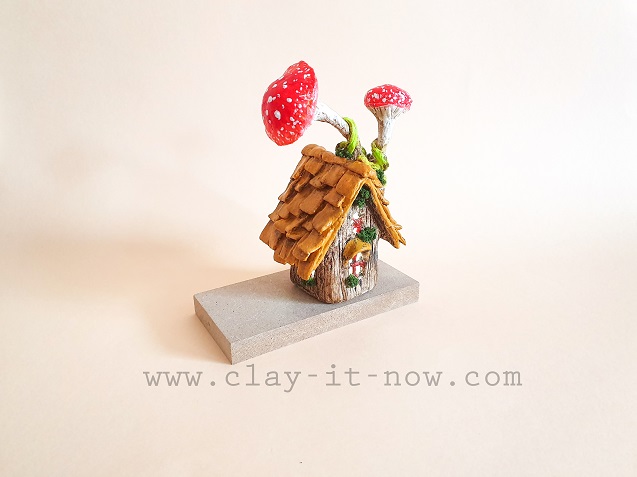
Are you looking for idea to make mini fairy house DIY? You may like my creation and tutorial here.
I make cute fairy house with toilet paper tube and air dry clay. Even though it is small, I really enjoy making it because I can play with the elements mostly used for fairy house like making mushrooms, stone, wood and leaves. Also I can experiment with my homemade clay.
If you watch my YouTube video tutorial, you'll see I mix the clay with water to make clay paste. I spread this experimental paste over the roof as the base before I put in the roof tiles.
And.. yeah, you'll also see how to make shingle roof, fairy door and painting the clay with acrylic paints in my video.
You know that I don't talk in my video. Also, I realize that my video was off when I make a stain glass effect on my fairy door. Sorry guys..
So, I have put in my detail steps in this page.
How to make mini fairy house using toilet paper tube and air dry clay?
Step 1:
I group this activity as step 1:
- Make the shape of our mini fairy house with toilet paper tube
- Make an opening for windows and door
- Cover the opening with clear plastic (re-use anything you can find from product/ food packaging)
- Add the pitch roof with used thick paper/ cardboard.
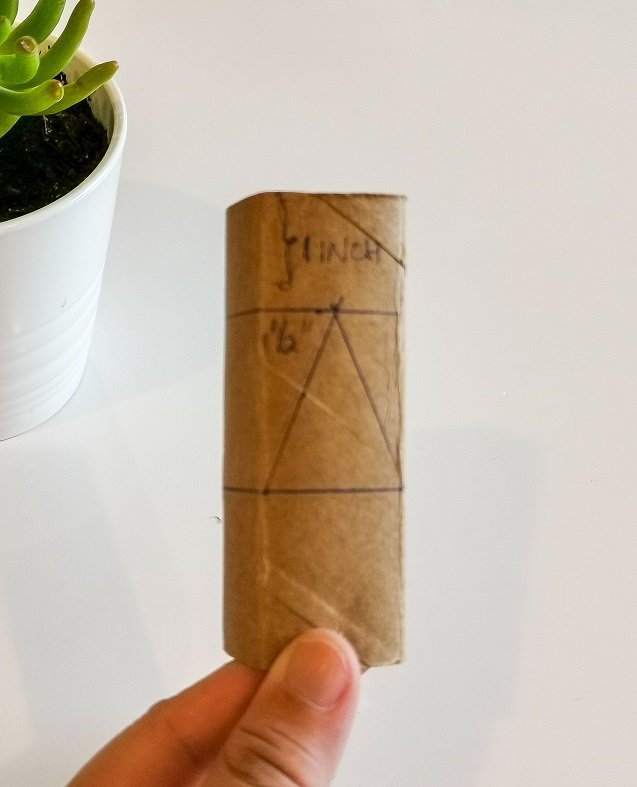
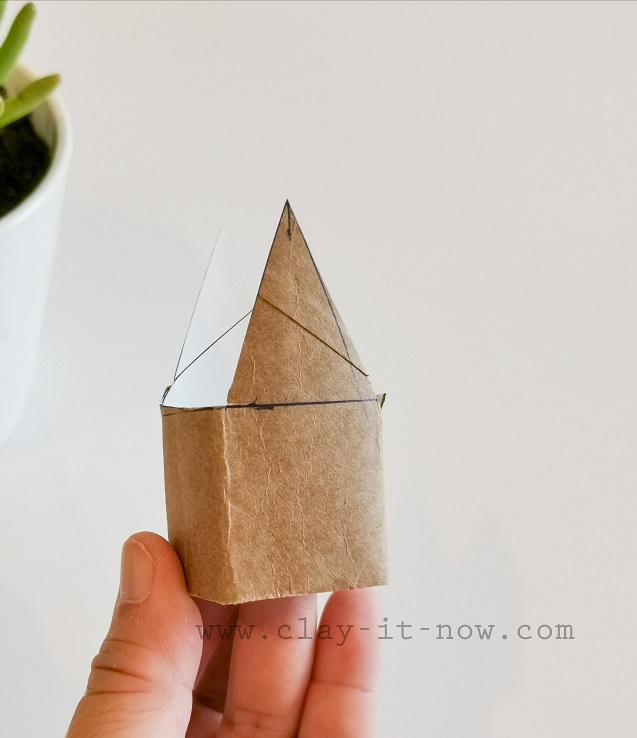
Make the cylindrical toilet paper tube shape to cubical by pressing is flat. Then mark 1 inch (approx. 2.5 cm) from top edge and 1.5 inch (approx.3.8 cm) after that.
Mark the center at the first 1 inch and draw the line from left and right edge of 1.5 inch to this center. Do this for the other side of cubical too as shown at the first image (from left).
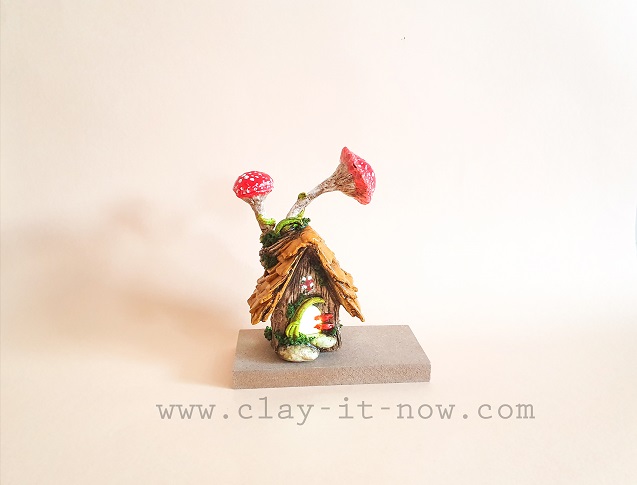
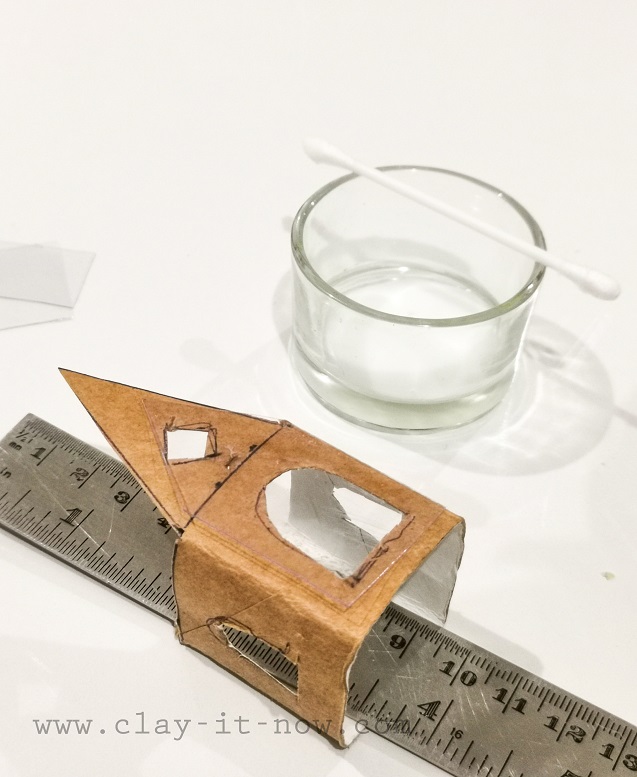
Then, cut the line with scissor. Your toilet paper tube will have new shape now middle image.
Next step, mark the opening for windows and door and cut it with small scissor.
Find thick clear plastic from food packaging maybe and cut it to small pieces that would be enough to cover your windows and door.
Then paste this clear plastic on the openings. You have 3 options to paste it: to use white school glue, use UHU glue or hot glue gun.
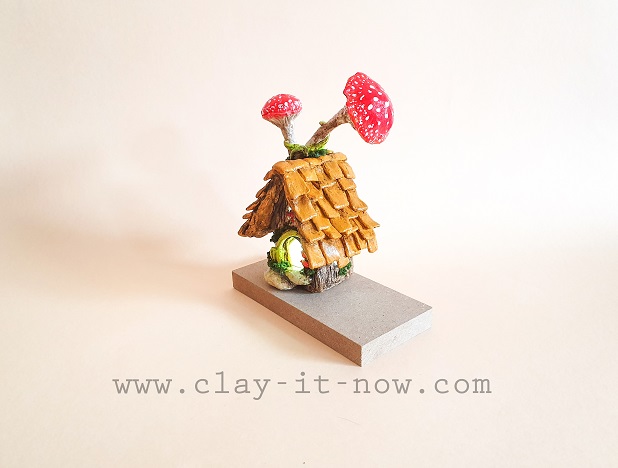
UHU glue is good if you have it. The plastic will stick on the paper strongly and flat. I use school glue in my project and need to press the plastic, leave it until the glue dry and move to the other side as shown in my third image (from left).
After that, cut the cardboard or thick paper to rectangular shape with the height slightly bigger than the side of mini fairy house and width to your preference. Wider rectangular will give you high pitch roof and narrow one for low pitch roof. Fold this rectangular piece and you have the roof.
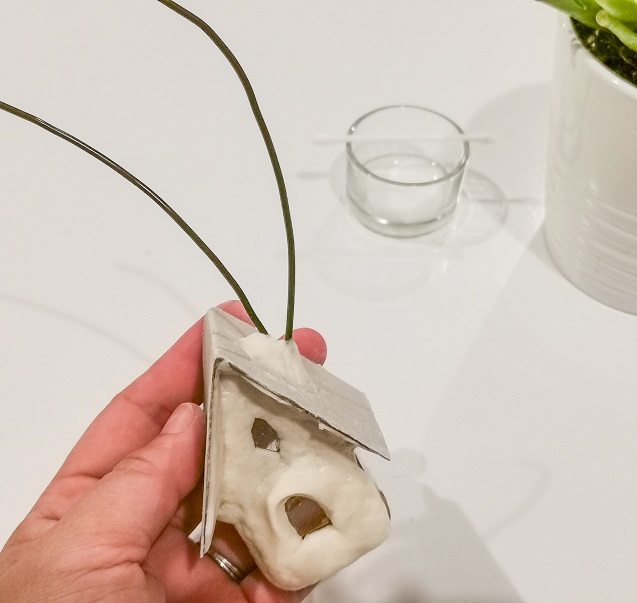
Then, insert 2 coated craft wire for our mushrooms. Make small coil to keep the wire in place, secure it with tapes and cover with clay.
Next, paste your house to the roof. Again, you can use UHU glue, hot glue gun or wet clay to join these 2 pieces together. I use wet clay :) and have to wait until the clay dry before moving to the next step.
Step 2:
Step 2 is about wrapping the house with air dry clay. As mentioned, I use homemade air dry clay but any type of air dry will work with this clay project. You can buy the clay if you want.
You can make texture of wood bark or make other marks with skewer stick or clay knife. Stop here and wait until the clay dry before moving to the next step.
Step 3:
Step 3 is about finishing up the roof section: making roof shingles, mushrooms and other decoration on the roof.
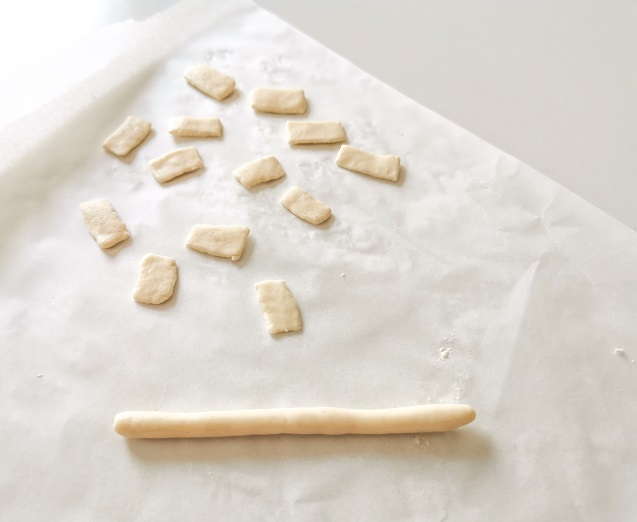
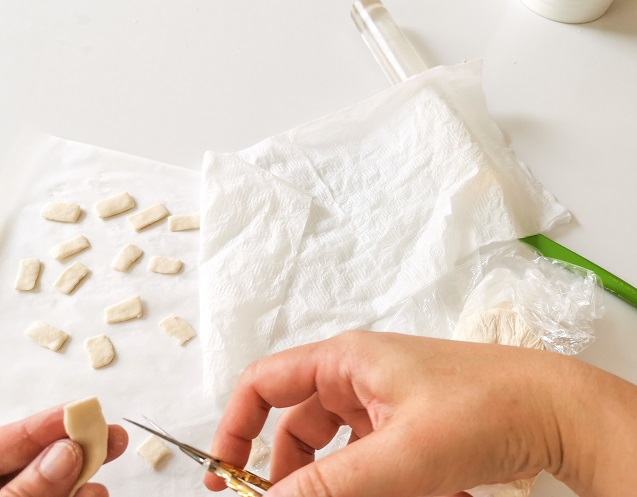
To make the roof tiles, start rolling the clay to pipe shape, make it flat with rolling pin and then cut to small pieces.
Tips: spray water on serviette/ paper towel and cover the clay roof tiles with it so your clay will not dry out.
Before I paste the tiles on to the roof, I make "experimental" clay paste by mixing clay with water. I don't have exact measurement just based on feeling that the paste is not so diluted and can be spread over the roof surface - here is the cardboard:).
This is faster way to cover the cardboard also will dry faster than solid clay because I use hair dryer to speed up the drying time.
When the paste about 3/4 dry, I paste the clay tiles on to the roof randomly to have a nice effect of shingle roof.
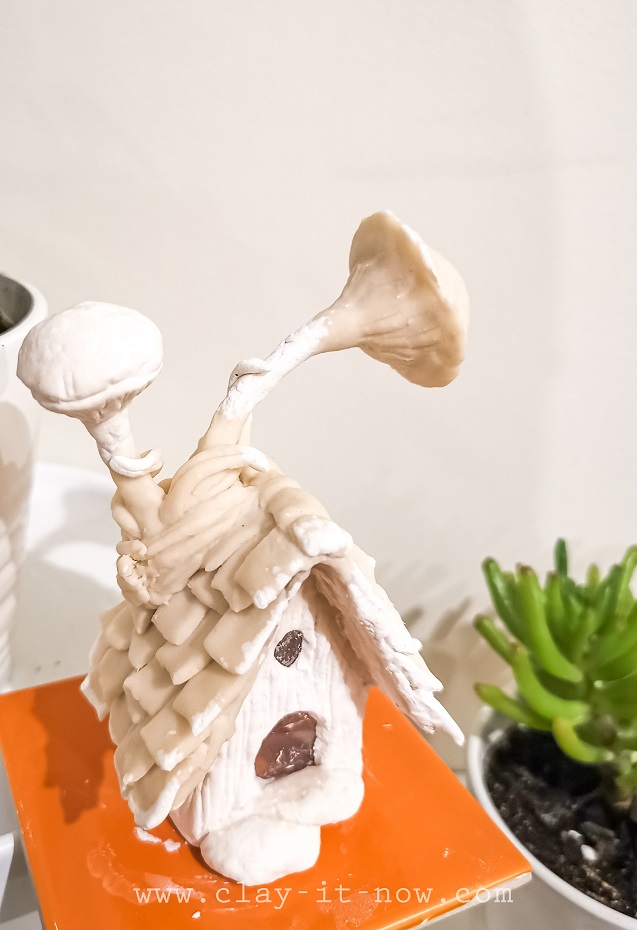
Once the shingle roof done, I cover the mushroom with clay too. And, I've added some leaves and bark at the bottom of mushrooms.
Basically, you can add any decorations you like for your mini fairy house:) Play around with shapes and texture and be surprised with your own creations.
Again, stop here and wait until the shingle roof and mushroom dry to move to the next step.
Step 4:
After the roof tiles completely dry, I added stone steps at the entrance, simple leave shape around the door and window grills.
And then, I apply a thin layer of white gesso universal primer to seal the clay and also preparing clay surface for painting.
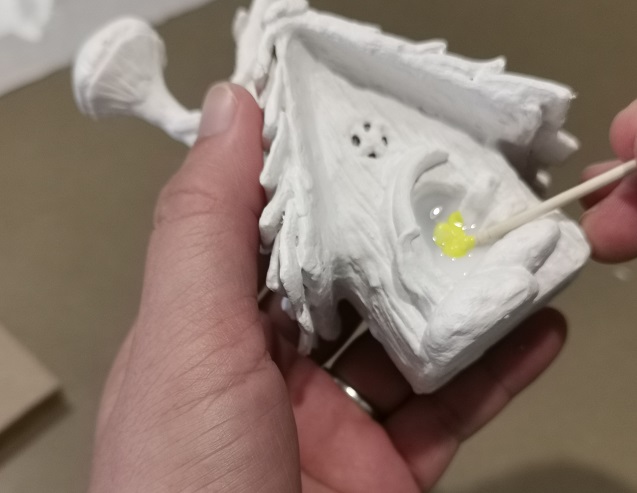
Before start the painting, I pour school glue on my fairy door and added tiny drop of yellow acrylic paint. I mix the paint with the glue. When the glue dry, it gives us an impression of stain glass. Isn't is easy to make cool fairy door?
Basically, we have done creating mini fairy house and let's move to the final step: painting!
Step 5:
I use diluted raw umber acrylic paints for the whole house and yellow ochre for the roof tiles. For the mushroom, I use orange and red with white dots.
I use lime green for the leaves and red for the hinges and window's grill. Basically that's all the colors I use.
To make it more interesting, I add artificial greenery here and there.
That's it! we are done with our mini fairy house:)
Don't forget to visit my YouTube channel and watch my video. Please LIKE, SHARE and SUBSCRIBE. I need your support to reach 25K subscribers. Thank you so much.
Please LIKE, SHARE and SUBSCRIBE to support my channel.
Share your craft
Do you make your craft? Share it!
