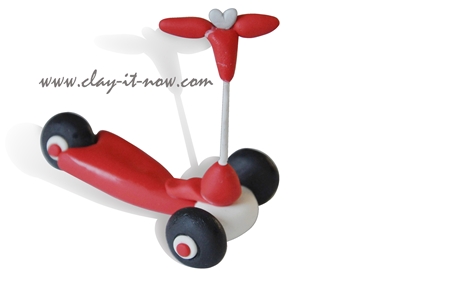
My First Scooter
Clay Miniature
My First Scooter? Some of you might think this is my first project making a scooter. It's not. This is referring to a scooter that used by pre-school kids.
It's a trainer scooter. That's why it has 3 wheels. Sometimes it came in 4 wheels which then you can modify it to 3 wheels or 2 wheels.
Your kids might love their scooter so much and asking for the miniature for their birthday cake.
If that so, my tutorial would be handy for you.
Tools & Materials:
- Air dry clay (cold porcelain clay, soapy clay or store bought clay)
- Wire/ toothpick
- White school glue
- Wax/ baking paper
Steps to make My First Scooter:
Step 1:
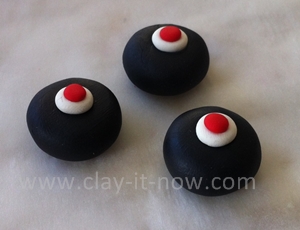
- Let's make the 3 scooter wheels from black, white and red clay colors.
- Roll your clay to the ball shape. Black would be the biggest ball followed by the white and red clay.
- Flatten the ball shapes and arranged them following the above picture.
- Air dry the wheels.
Step 2:
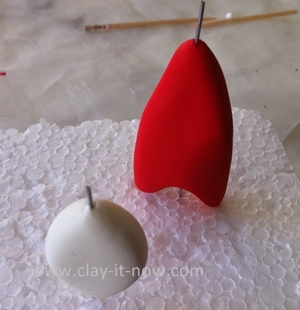
- Roll white clay to the ellipse shape and flatten it.
- And, roll the red clay to the oval shape first, flatten it and at the wider end press the middle part with your finger and pull the two sides at the left and right side. Please use the above picture for your reference.
- Insert toothpick or wire to strengthen it and leave it to dry.
Step 3:
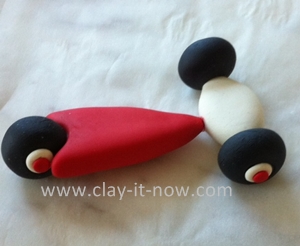
- We are making the scooter base now.
- Firstly connect the red and white clay made previously in step 2 with white glue.
- And then attach the 3 wheels to the body as above.
Step 4:
- When the clay shapes at step 3 completely dry, attach the base for the stirring stick. You can roll red clay to the cone shape and flatten the top part slightly.
- Wrap the toothpick or wire with white clay, leave it to dry.
- Roll red clay to a triangle shape, insert it to the top of the toothpick.
- Roll 2 small sausage shapes for the handle. Attach the sausages shape to the triangle shape.
- Finally insert the bottom of the stick to the stick base.
Voila! it's ready.
Now you can personalize the scooter by adding a figurine that resemble your kids. You might want to check my cute mini figurines for ideas.
Please share your picture using below submission form if you make one following this tutorial.
Have fun....
Other ride-on clay ideas:
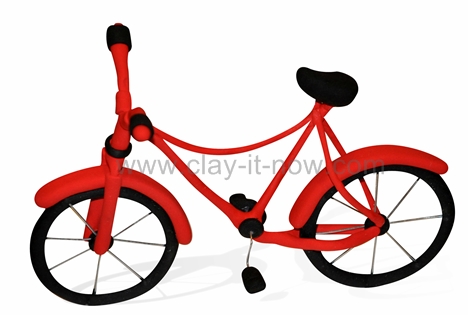 |
It's nice for wedding cake topper with bride and groom figurine or for those who love collecting bicycle figurines. | |
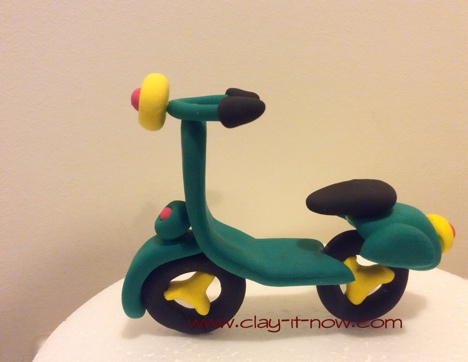 |
It's a favorable item for vintage style wedding cake topper. Happy to share our simple shape vespa tutorial with you. |
Please LIKE, SHARE and SUBSCRIBE to support my channel.
Share your craft
Do you make your craft? Share it!
Share your craft
Do you make your craft? Share it!
