Santa Claus Figurine
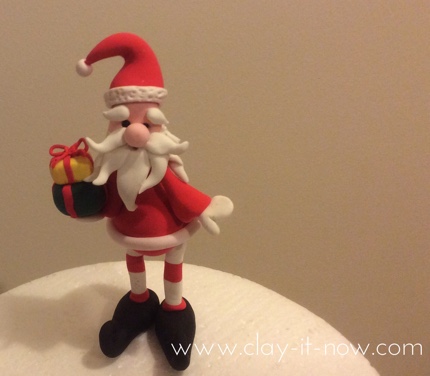
Santa Claus figurine would be nice for Christmas decoration. Make the Father Christmas and tell the story to your kids while making this.
This Santa is our first Christmas clay craft. You can see many more in the bottom of the tutorial. Click next button to browse them one by one and back to this page to see new item when we add it to the list.
Let's have fun.....
Tools and materials:
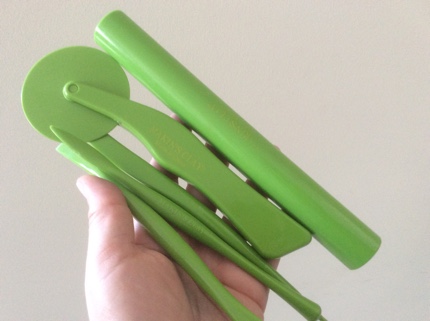
I used my basic clay tool from Makin to create this model.
Materials:
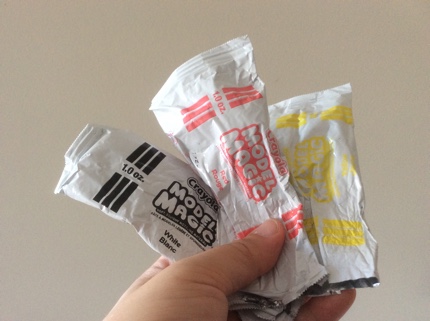
- Air dry clay: you can use home-made cold porcelain clay or store bought air dry clay. I used Crayola model magic classroom pack from my previous clay class. It is really easy to handle and light-weight. It is a perfect material choice if you want to send the figurine as a gift by post.
- Wire and toothpick.
- Glue.
Santa Claus figurine step-by step guide:
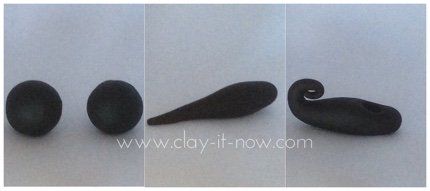
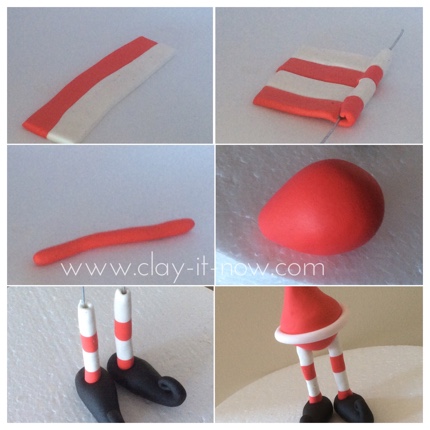
Santa's shoes:
- Make 2 ball clay shapes in black color.
- Change the shape to a long teardrop shape.
- Curl up the sharper edge and indent the wider end with clay tool.
Legs and Body:
- Cut two pieces of wire with length about 5 - 7 cm.
- Roll red and white clay to a pipe shape with diameter about 0.5 cm and length about 10cm.
- Flatten the clay and cut in the middle.
- Join these 2 part of clay and divide it to 2 parts again
- Roll each part of the above clay to the wire so you'l have Santa's legs that as if wearing red and white legging.
- Attach the legs to the shoes and let it dry so it will be strong enough to support the body and head later on.
- For the body, roll red clay to a big egg shape and wrap white pipe shape white clay around it.
- Insert the body to the legs.
Arms, Head, Face and Hat:
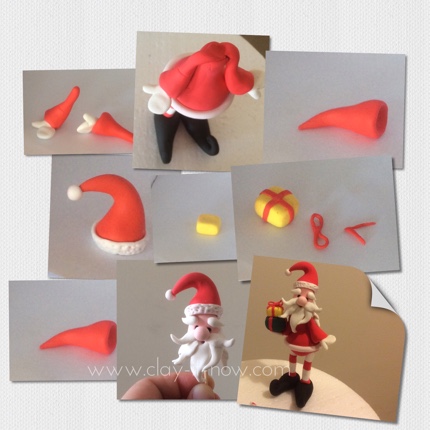
- Roll red clay to cone shape or pipe shape for the arms, skin color clay for hands and attach the arms to the body.
- For the head, start with small egg shape, flatten the top part, add the eyes, and then couple of white clay in various tear drop shapes for the beard, mustache and eye brows.
- For hat, roll the clay to cone shape, hollow the base, wrap white clay around it and add small white ball shape at the end of the hat.
Well, your Santa Claus figurine is ready!
For more ideas and update, please visit and like our Facebook page.
Did you make Santa Claus following our tutorial in this page? Or do you have different version of Santa?
We would love to hear from you. If you want to publish and share your work in our website, please go to this page. Thanks!
Other clay craft ideas for Christmas:
|
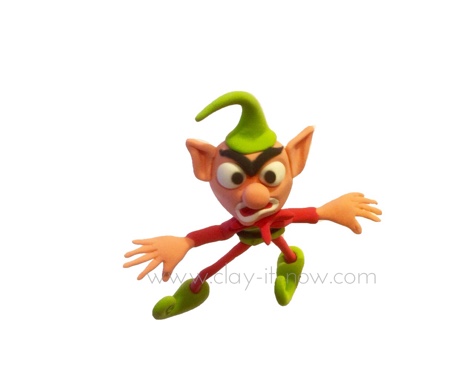
This is created based on our imagination as one of clay characters. | ||
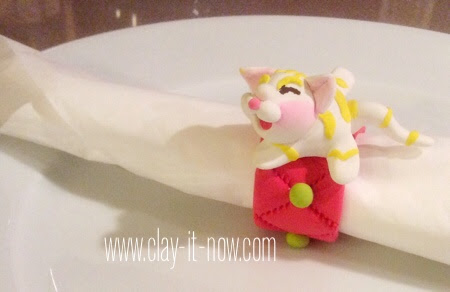 |
Here is the idea for Christmas table decoration. Personalize it with different type of animal figurines. | |
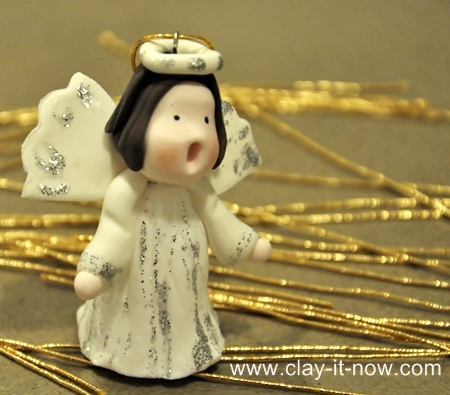 |
Angel Figurine for Christmas Tree This is idea for DIY Christmas tree decoration. Change the expression and postures as you like. | |
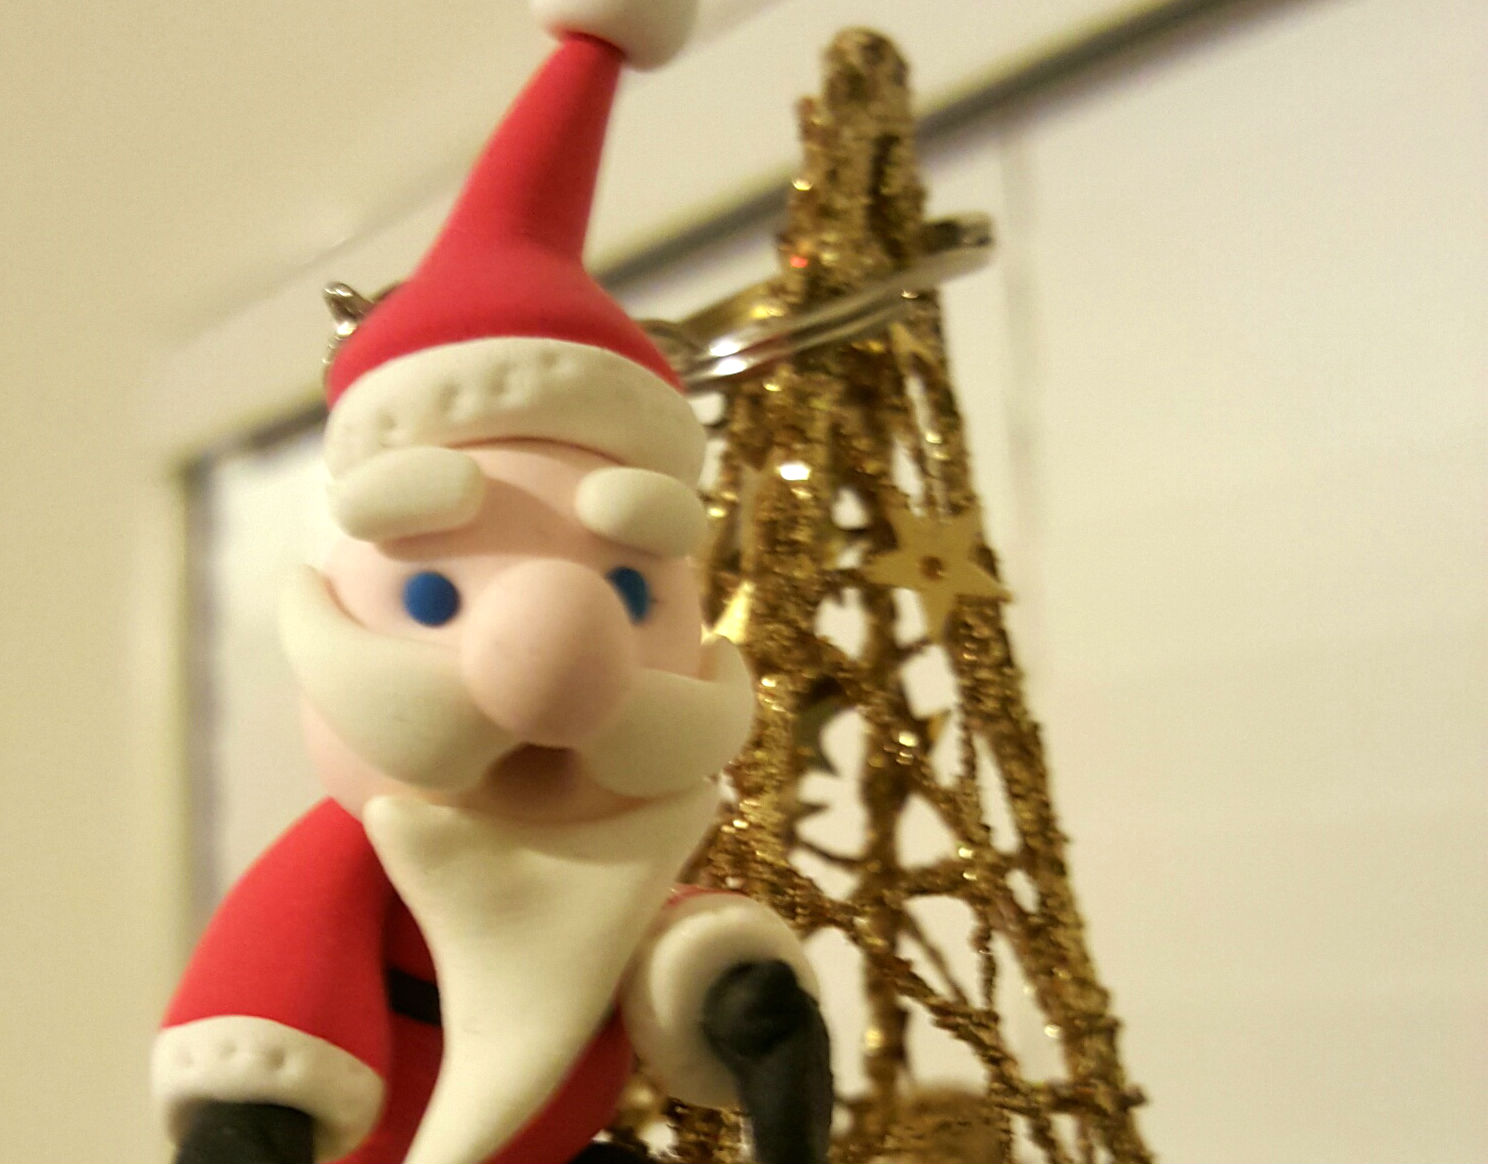 |
Mini Santa Claus for Beginners. This is an easy version of Santa figurine. It can be used for clay or fondant. |
More Tutorials:
Resources:
| Home | ^Top of the Page |
Please LIKE, SHARE and SUBSCRIBE to support my channel.
Share your craft
Do you make your craft? Share it!
